How to make colourful custom fridge magnets with the Ador laser cutter
- Posted on
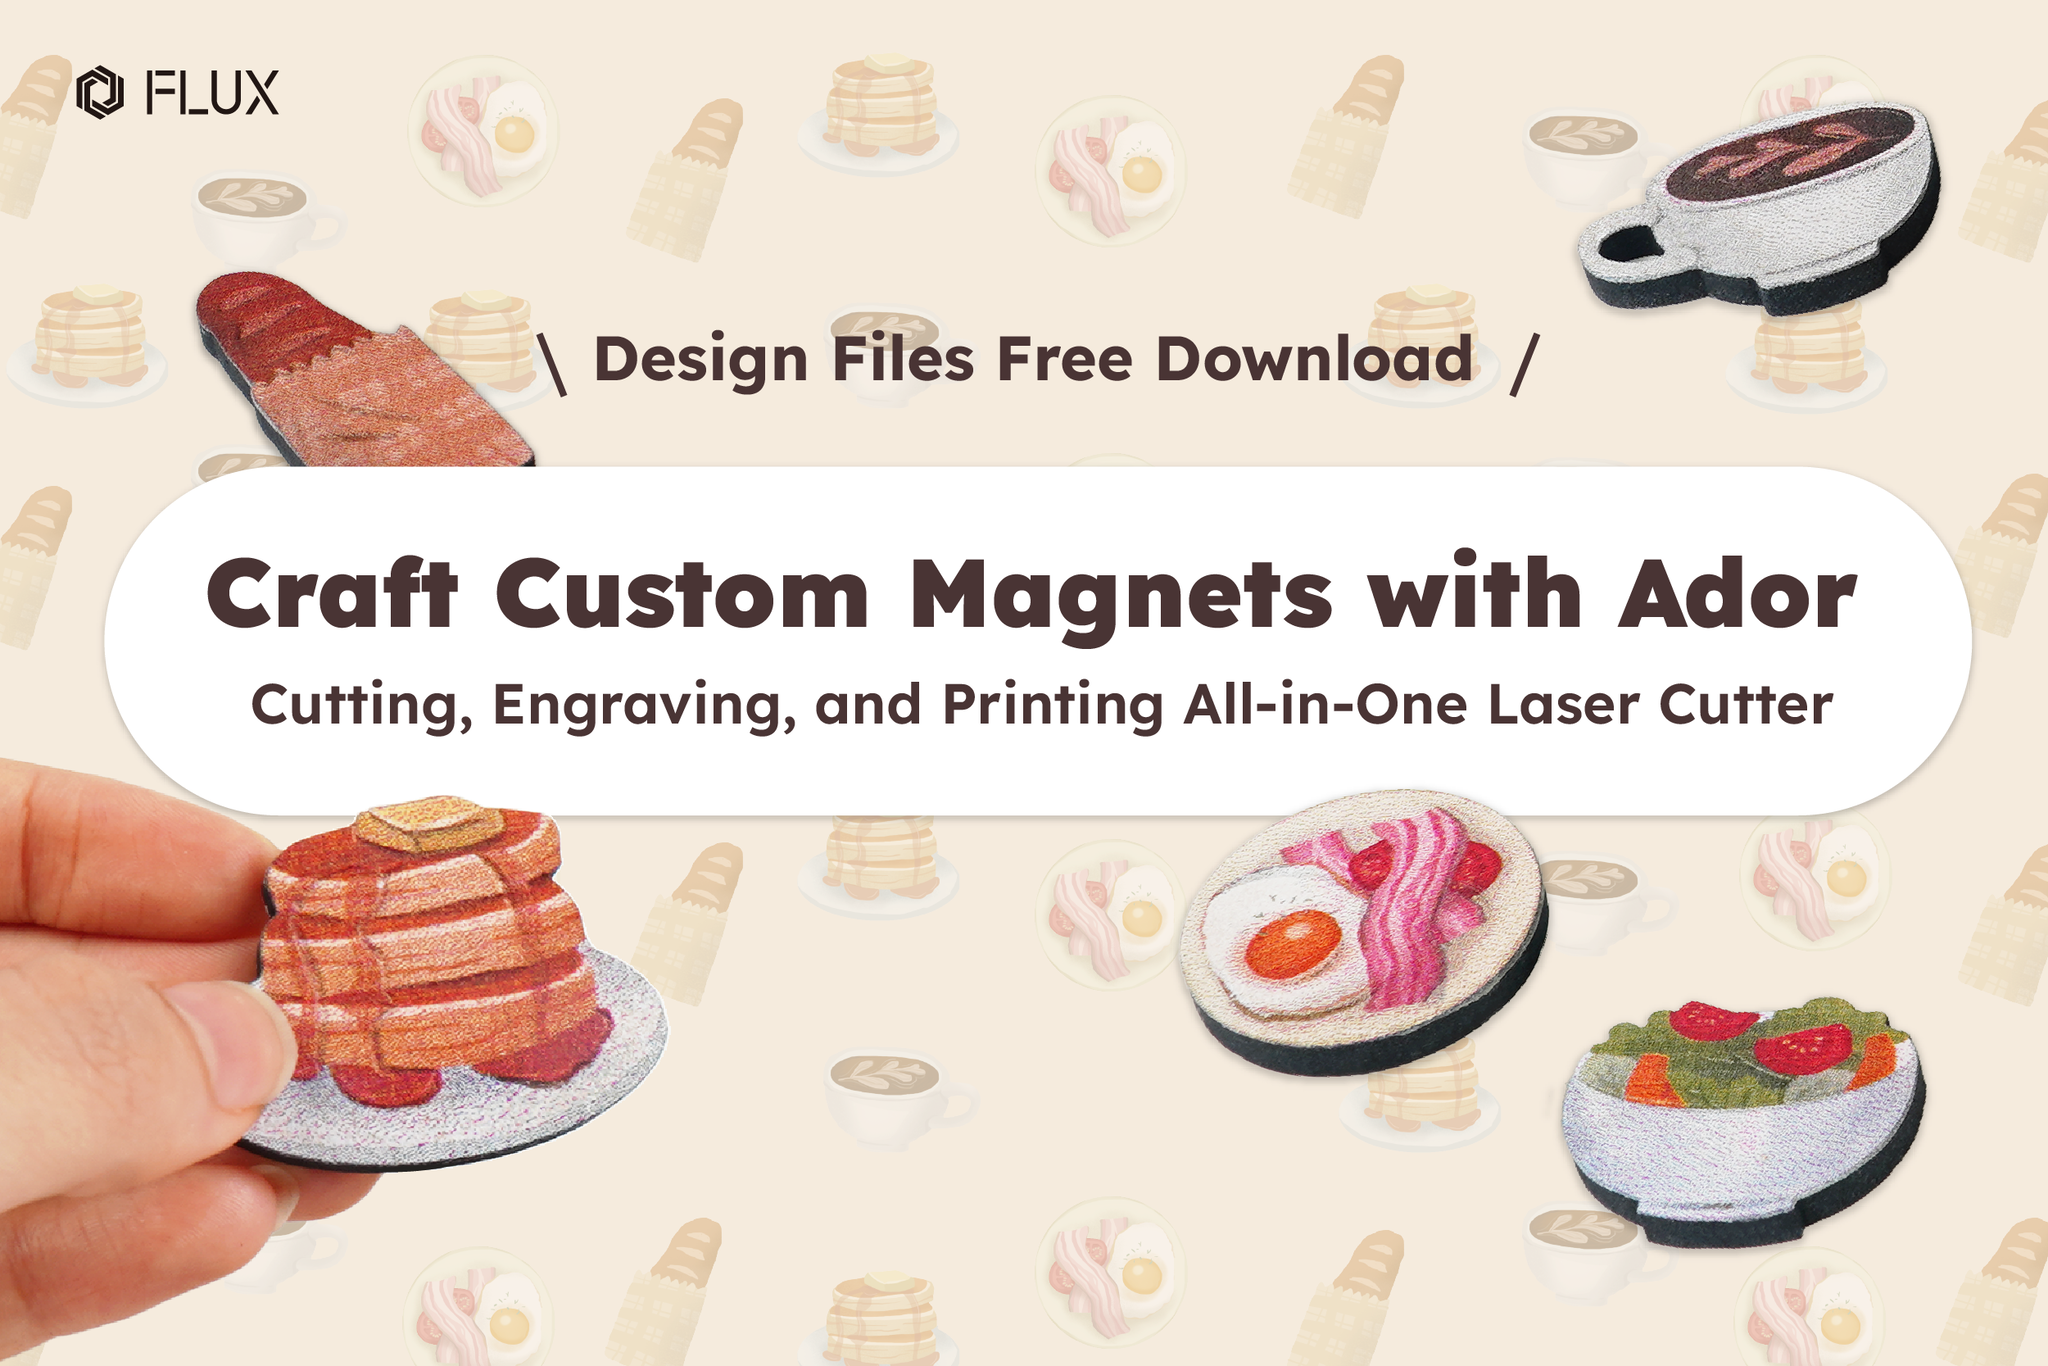
In this tutorial, we’ll walk you through how to create a custom MDF magnet using FLUX Ador, complete with engraving, cutting, and colour printing—all in one shot. That’s right! Your own hand-drawn illustrations can be turned into unique products, allowing you to bring your creative visions to life on a variety of materials. But before we dive in, make sure to follow our guide for gathering and preparing your materials!
Preparing image files
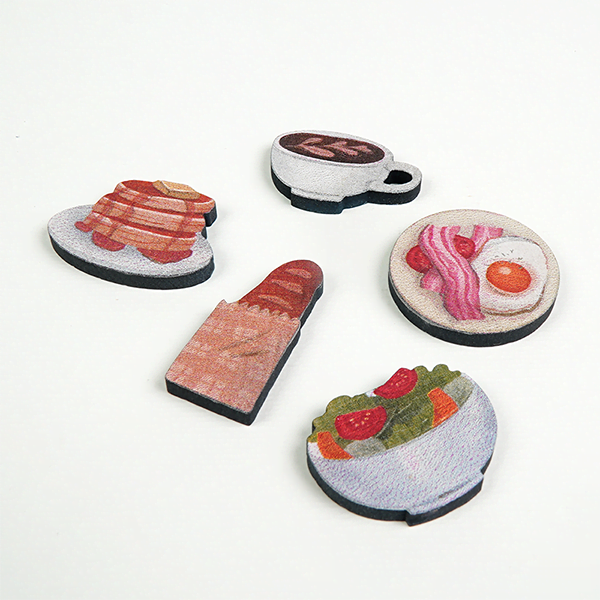
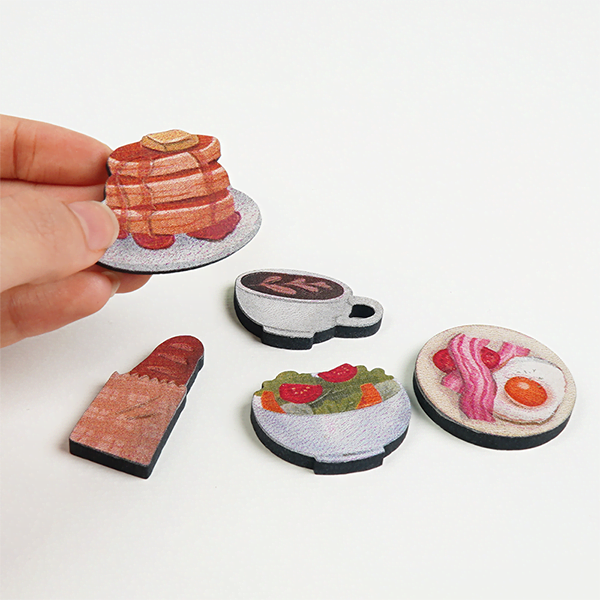
We’ve got a special treat for you—a set of intricately dessert illustrations available for everyone to download for free and use for your creative projects. This exclusive collection features five hand-drawn desserts and food shapes, ideal for creating fridge magnets, hanging decorations, and more with a laser cutter.

If you have your own illustration design, begin by adding a cutting frame to the image file before exporting it with the original artwork. Alternatively, when using Beam Studio software, you can vectorize the image file and navigate to “Edit” > “Path” > “Offset.” This step prompts the software to automatically generate a cutting frame for your design.
Preparing materials
When it comes to wooden materials, you’ve got a ton of options, each with its own unique colour and texture. But for projects that involve engraving, cutting, and printing with Ador, you’ll want to stick with materials that won’t easily crack or warp. Our top picks? Birch plywood, Poplar plywood, or MDF (Medium Density Fiberboard). And if you’re aiming to add a bit of depth to your work, go for panels that are between 3mm and 5mm thick. Anything thinner might not capture the full vibrancy of your creation.
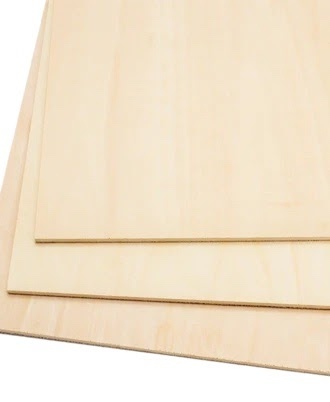
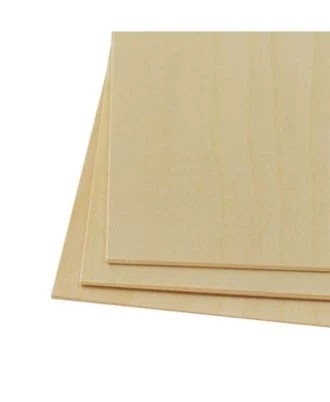
Poplar plywood
Poplar plywood is ideal for creators looking to achieve bright, vividly coloured prints. Its pale white colour, coupled with a fine, uniform grain and subtle lines, offers a mild and easy-to-work-with material. The fine grain makes it a breeze to process, whether by hand or laser, and it stands up well to sanding, staining, and polishing for a smooth finish. It ensures even colour in engravings and clean, non-charred edges in laser cuts, breaking cleanly for precise work.
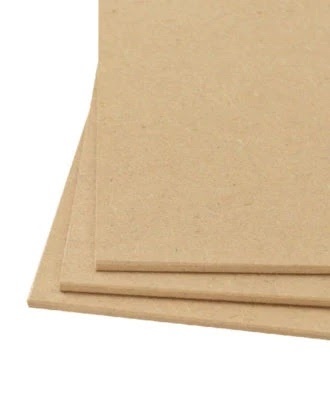
Medium Density Fiberboard (MDF)
MDF Board is highly recommended for creators aiming for bright and colourful prints on their projects. This material has a light colour, stability, and ease of cutting. Compliant with green VOC standards, it’s an excellent choice for a wide range of applications including crafts, furniture, decor, building materials, and laser cutting projects.
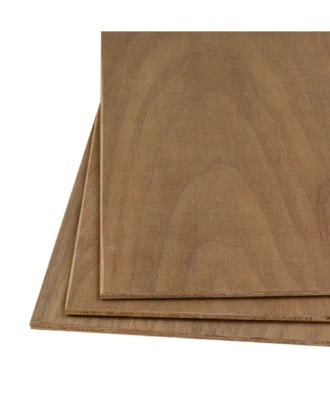
Walnut plywood
Walnut plywood stands out with its yellowish-brown hue and special patterns, such as parabolic shapes on the cut surface and straight grains radially. It’s known for its fine texture, high hardness, and excellent resistance to impact, compression, and moisture, making it less prone to warping. This durability is perfect for furniture making. While walnut plywood adds a vintage look to projects, its rich colour might overshadow bright design colours. For the best compatibility with FLUX design files, opting for lighter-coloured wood is recommended. Ensure you choose the right board for your project!
Birch plywood
Birch plywood, known for its light colour, is ideal for projects that involve colour printing. Basswood, featuring a creamy white hue, is characterized by its fine, even grain and subtle straight lines. This wood is mild, resistant to cracking and warping, and its fine grain makes it easy to handle, durable, and capable of achieving a smooth finish through sanding, staining, and polishing. It’s suitable for both hand crafting and laser processing, ensuring the edges of laser cuts don’t easily blacken or break.
How to make magnets with a laser cutter?
To give your magnets that extra 3D pop, stick to the following order: engrave, print, then cut. As for switching things up with the modules, it’s diode module, then printing module, and back to diode module. FLUX provides .svg files for your engraving and cutting needs, plus .png files for printing. Make sure to download both to your computer and you’re all set.
Step 1 : Camera calibration
If it’s your first time firing up Ador, or if you’ve moved the machine since your last project, be sure to run a camera calibration. This step is crucial to dodge any mishaps while laser cutting and engraving. Don’t just breeze through calibration —make sure to double-check the calibration results once you’re done. After nailing the camera calibration, you’re good to go on that first engraving. For a clear guide on confirming your calibration, dive into the tutorial video and remember to turn on those CC subtitles for extra clarity.
Step 2 : Laser engraving
After calibrating the camera, you’re ready to make your magnet. The .svg files from FLUX are already organized with separate layers for cutting and engraving, so remember to hide the cutting layer while engraving! Also, before you start tweaking the settings, make sure to complete an “Auto Focus” to adjust the distance between the laser head and the material correctly before each engraving and cutting step.
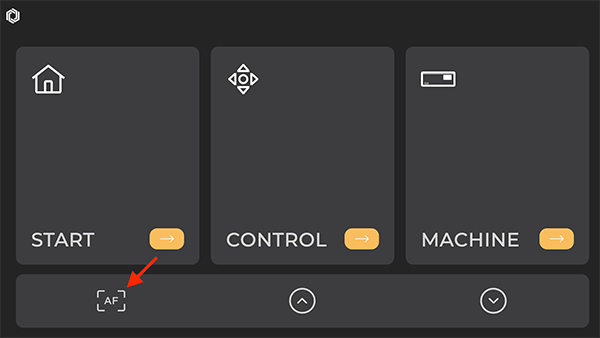
Auto Focus: Place the material inside the machine, move the laser head above the material, then double-click the focus button on the left side of the machine or press and hold the “AF” button on the machine’s panel until the laser head activates. Once the laser head touches the material and then moves back up, focusing is complete. Before each engraving, always make sure the focus distance is correct.
Camera Preview: Start with a camera preview to confirm the placement of your material and the engraving position of your design file. The camera lens for the preview is located on the lid, so remember to close the lid during the preview. Otherwise, you might end up with a selfie!
Parameter Setting: Once you’ve finished the camera preview and have your design file’s placement nailed down, it’s time to set your parameters. Beam Studio offers suggested settings, but feel free to tweak these based on the colour or texture of your material. This flexibility allows you to tailor the engraving or cutting depth to achieve the best possible outcome for your project. If you’re using MDF board for your magnet, the recommended engraving parameters are: Power: 40 / Speed: 250. For a detailed walkthrough on laser engraving settings, check out the tutorial video below.
Step 3 : Colour printing
Once you’ve finished engraving, it’s time for the highlight of this project – colour printing! Before you start the setup, remember to swap out the diode module for the printing module head. If it’s your first time venturing into a project with the printing module, you’ll need to calibrate the camera before getting started.
Start by importing your files for camera preview. Align it with the engraved area and adjust the ink saturation to kick off your colour printing. You can tweak the ink volume based on the colour tones of the image and personal preference. If your material is on the lighter side, consider reducing the saturation to prevent the colours from becoming too vivid and distorting the final product. Once the file is sent, follow the prompts on the Ador smart panel to change ink colours, completing the printing process.
Step 4 : Laser cutting
Once the colour printing is done, it’s time for the last step: cutting out your engraved and printed masterpiece with the diode laser . First, swap out the printing module for the diode module and refocus the material. Next, reveal the cutting layer that was hidden during engraving, and align the cutting paths with your design. Ensure the engraving and printing layers are hidden to avoid any overlap issues. With the wood preset cutting parameters from Beam Studio, you’re ready to send off the file for cutting.
Glue on your magnets and your custom magnet set is ready!
